Installing Project Dependencies
Note: The process varies depending on your choice of code editor / IDE, so refer to one of the following guides:
The following will use the Sir-Lancebot repository as an example, but the steps are the same for all other repositories. You should have already cloned your fork as described in Cloning a Repository.
Installing dependencies with the command line
- Make sure you are in the root project directory. This directory will always have a file titled
README.md. - Install project and development dependencies. Remember to also set up pre-commit hooks to ensure your pushed commits will never fail linting.
$ poetry install
$ poetry run task precommit
Installing dependencies with PyCharm
- Load up your project in PyCharm.
- Go to the Project Settings by clicking
File, thenSettings.... Alternatively, use the shortcut key:Ctrl+Alt+S(command+commaon Mac OS). - Install the poetry plugin.
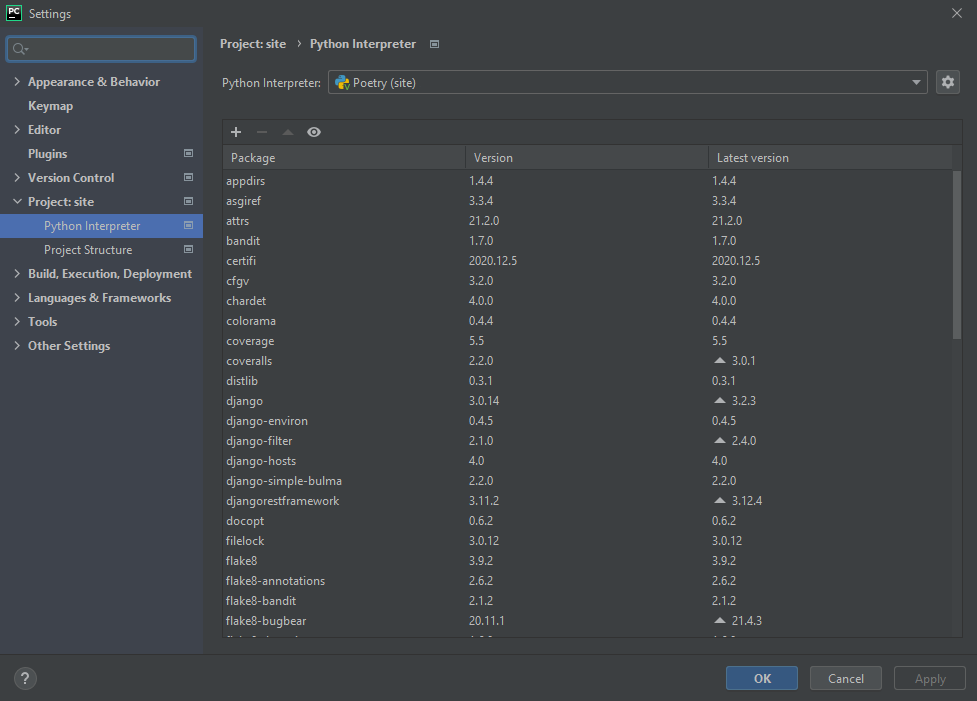
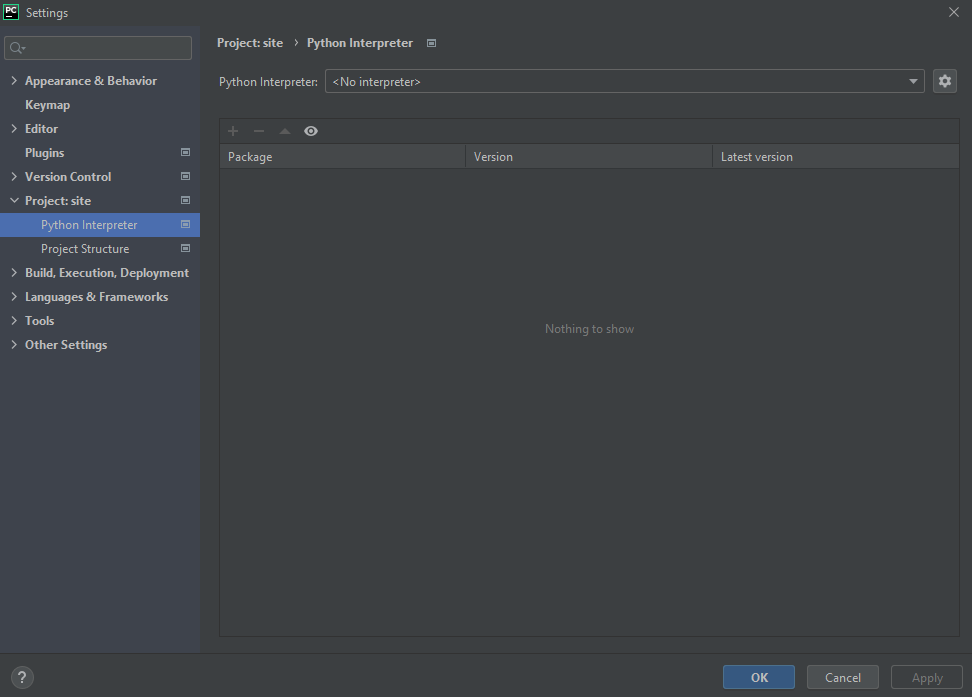
- Navigate to
Project Interpreter, then click the gear icon and clickAdd.
- Click
Poetry Environment, then clickOK.
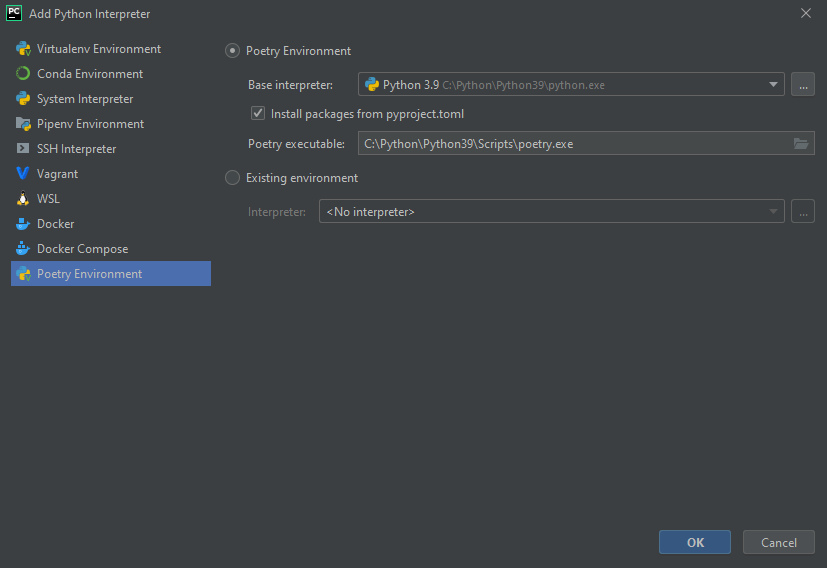
- PyCharm will automatically install the packages required into a virtual environment.